TV Wall Mount Instructions: A Comprehensive Guide
Discover step-by-step instructions for securely mounting your TV‚ ensuring proper alignment‚ and maintaining stability. This guide covers essential tools‚ compatibility checks‚ and safety tips for a flawless installation experience.
Welcome to this comprehensive guide on TV wall mount instructions! Mounting your TV on the wall is an excellent way to save space‚ enhance viewing angles‚ and add a sleek‚ modern look to your home. Whether you’re a DIY enthusiast or a beginner‚ this guide will walk you through every step of the process‚ ensuring a secure and stable installation. From gathering tools to final adjustments‚ we’ll cover it all. Proper installation is crucial to avoid damage to your TV or wall‚ so follow these instructions carefully. With the right preparation and attention to detail‚ you’ll enjoy a perfectly mounted TV for years to come. Let’s get started!
Benefits of Wall Mounting Your TV
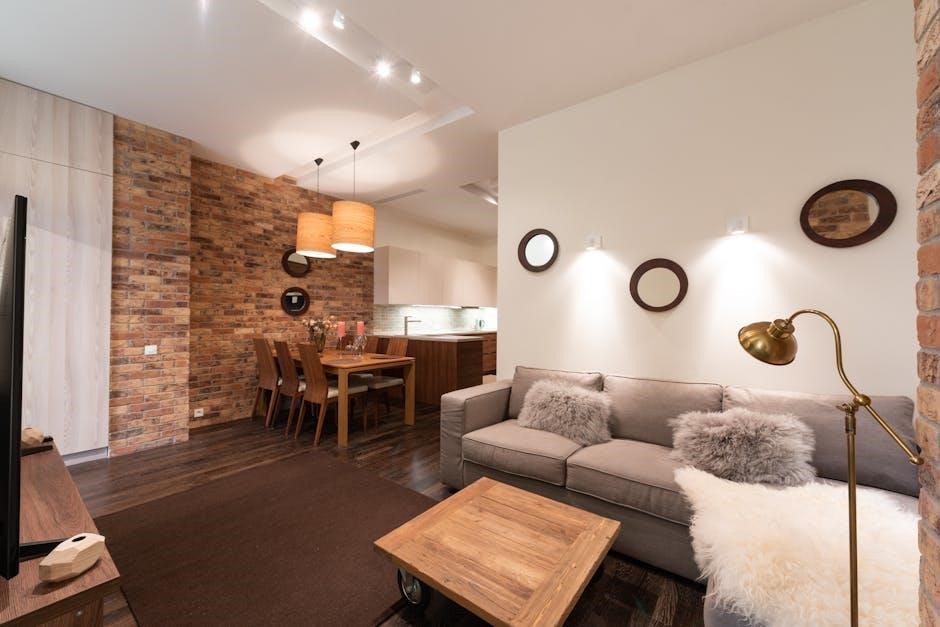
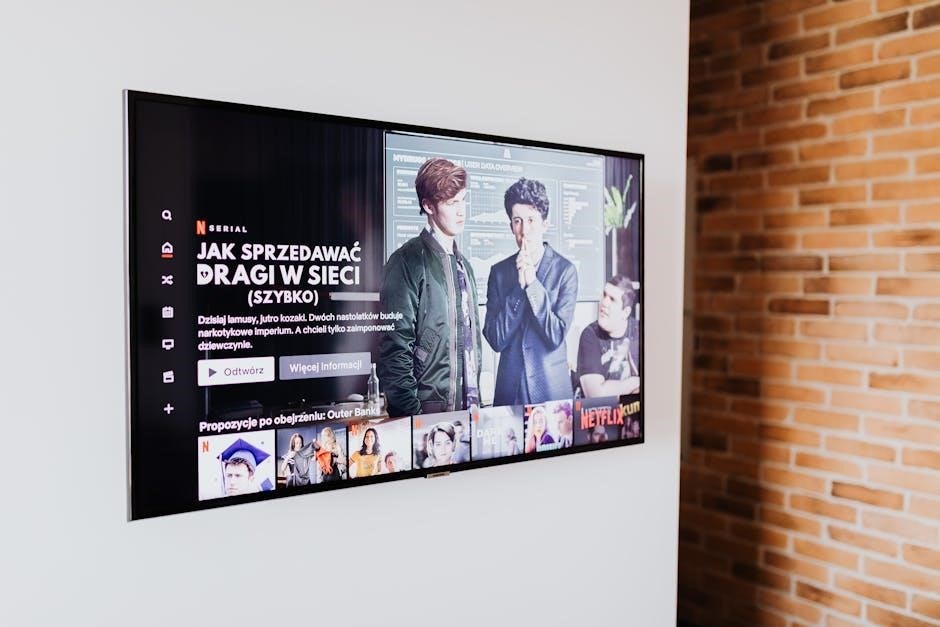
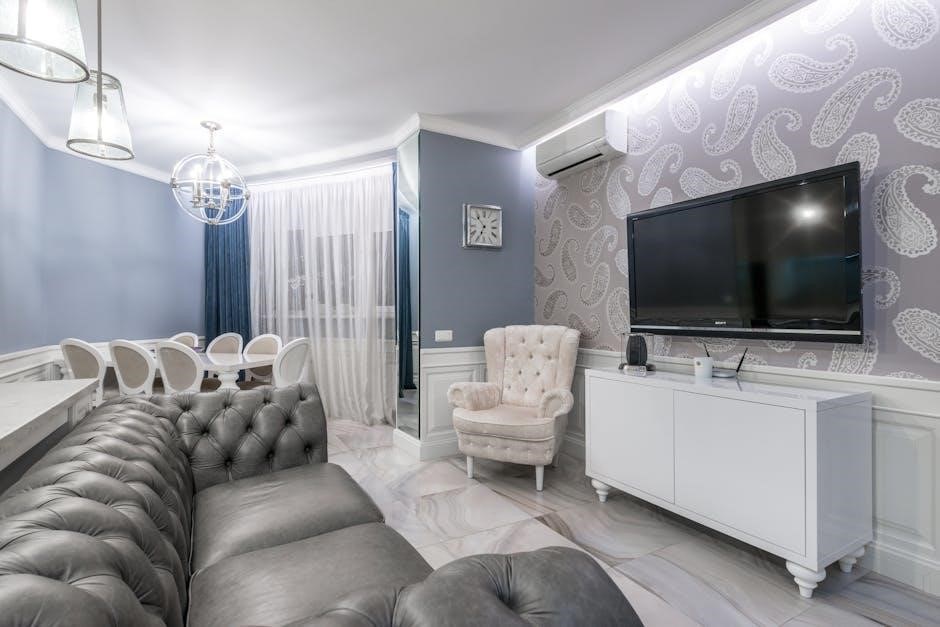
Wall mounting your TV offers numerous advantages‚ including space savings‚ improved aesthetics‚ and optimized viewing angles. It eliminates the need for bulky furniture‚ creating a sleek‚ modern appearance in any room. By elevating the TV to eye level‚ it enhances your viewing experience‚ reducing neck strain and glare. Additionally‚ wall mounting keeps your TV out of reach of children and pets‚ adding a layer of safety. With various mount types available‚ you can choose between fixed‚ tilt‚ or swivel options to suit your needs. This versatile solution not only enhances your home’s decor but also ensures your TV is securely and attractively displayed for years to come.
Key Considerations Before Starting
Before installing your TV wall mount‚ assess your wall type to ensure compatibility. Wood studs‚ concrete‚ or brick walls are ideal‚ while drywall alone may require additional support. Verify your TV’s VESA pattern to select the correct mount size. Check the weight capacity of the mount to avoid overloading. Gather all necessary tools‚ such as drills‚ screwdrivers‚ and levels‚ to streamline the process. Plan the installation height for optimal viewing and consider cable management options. Ensure all components are included in the mount kit and consult manufacturer instructions for specific requirements. Proper preparation ensures a secure and stable installation‚ preventing potential damage or safety hazards.
Preparation
Gather all necessary tools‚ including a drill‚ screwdrivers‚ and a spirit level. Ensure the wall mount kit is complete and compatible with your TV’s VESA pattern and weight requirements. Verify wall type and locate studs for secure installation. Plan the TV height and position for optimal viewing and cable management. Consult the manufacturer’s instructions for specific recommendations. Proper preparation ensures a smooth and safe installation process.
Gathering Tools and Materials
To ensure a smooth installation‚ gather all necessary tools and materials beforehand. Essential tools include a drill‚ screwdrivers (Phillips and flathead)‚ a spirit level‚ and a stud finder. You’ll also need a pencil for marking wall locations and a measuring tape for accurate placement. Materials required include the wall mount kit‚ TV brackets‚ screws‚ and wall anchors (for non-stud walls). Additionally‚ have cable ties or clips ready for organizing wires. Double-check the manufacturer’s instructions for any specific tools or materials recommended for your mount. Organizing everything in advance saves time and prevents delays during installation.
Choosing the Right Wall Mount Type
Selecting the appropriate wall mount ensures optimal functionality and safety for your TV. Fixed mounts are ideal for flush installation‚ offering a sleek appearance. Tilt mounts allow vertical angle adjustment‚ while swivel mounts enable side-to-side movement. Full-motion mounts provide maximum flexibility‚ with both tilt and swivel features. Consider the size and weight of your TV‚ as well as its VESA pattern‚ when choosing a mount. Ensure the mount is compatible with your TV’s specifications and the wall type (wood stud‚ concrete‚ or brick). Always check the weight capacity and follow the manufacturer’s guidelines to guarantee a secure and stable installation. This step is crucial for both performance and safety.
Understanding VESA Compatibility
VESA (Video Electronics Standards Association) compatibility is crucial for ensuring your TV mounts correctly. The VESA pattern refers to the arrangement of mounting holes on the back of your TV. Verify your TV’s VESA specifications‚ typically measured in millimeters (e.g.‚ 400×400 or 300×300). Ensure the wall mount supports this pattern to guarantee a secure fit. Manufacturers like Samsung‚ Sony‚ and LG often provide VESA details in their manuals. Additionally‚ check the screw diameter (M6 or M8) required for your TV’s mounting holes. Proper alignment prevents damage and ensures stability. Always confirm compatibility before purchasing or installing a wall mount to avoid installation issues and ensure a safe setup. This step is vital for a successful installation.
Selecting the Wall Type
Selecting the right wall type is essential for a secure installation. Most TV wall mounts are designed for wood stud‚ solid concrete‚ or cinder block walls. Drywall alone is insufficient and may require additional anchors for support. Identify your wall type by checking for studs or using a stud finder. Concrete and cinder block walls provide maximum stability but may need specific drilling bits. Ensure the wall structure can support the combined weight of the TV and mount. If unsure‚ consult the manufacturer’s instructions or seek professional assistance. Proper wall type selection ensures a safe and durable installation‚ preventing potential damage or hazards. Always verify compatibility before proceeding.
Installation Process
Attach the wall plate securely‚ mount the TV brackets‚ and align the TV with the wall plate; Tighten screws safely and ensure proper stability for a secure installation.
Locating the Wall Studs
To ensure a secure installation‚ finding wall studs is crucial. Use a stud finder or knock gently on the wall to identify sturdy areas. Mark the spots with a pencil. For concrete or brick walls‚ drill pilot holes to confirm structural integrity. Avoid areas with pipes or wires. If studs are spaced widely‚ consult the mount’s specifications. Proper stud alignment prevents damage and ensures the TV’s weight is distributed evenly. Always double-check stud locations to avoid installation failure. This step is critical for safety and stability‚ especially for heavier TVs or large screens. Accurate stud location guarantees a reliable and long-lasting mount.
Drilling Pilot Holes
Drill pilot holes into the marked wall stud locations using a drill bit slightly smaller than the wall mount screws. Ensure the holes are straight and aligned with the mount’s hardware. For concrete or brick walls‚ use a carbide-tipped drill bit and apply gentle pressure to avoid damaging the surface. If using anchors‚ insert them into the holes before proceeding. Double-check the hole depth to match the screw length. Avoid applying too much pressure‚ which could crack the wall. Wear safety goggles to protect your eyes from debris. Properly drilled pilot holes ensure a secure and stable installation‚ preventing future adjustments or damage.
Attaching the Wall Plate
Align the wall plate with the pilot holes drilled into the wall studs. Insert the provided screws through the plate and into the holes‚ ensuring they are seated properly. Tighten the screws firmly but avoid over-tightening‚ which could damage the wall or strip the screws. Use a spirit level to confirm the plate is perfectly horizontal. Once secure‚ the wall plate will serve as the base for mounting the TV brackets. Ensure the plate is tightly fastened to support the weight of the TV safely. Double-check the alignment and stability before proceeding to the next steps. Proper installation ensures a sturdy and reliable mount.
Mounting the TV Brackets
Attach the TV brackets to the back of the television by aligning the screw holes on the brackets with the VESA mounting holes on the TV. Use the appropriate screws provided with the mount to secure the brackets tightly. Ensure the brackets are evenly spaced and aligned to prevent uneven weight distribution. For flat-back TVs‚ no spacers are needed‚ but for curved or specialized models‚ check if additional adapters are required. Tighten the screws firmly but avoid over-tightening to prevent damage to the TV’s mounting points. Once the brackets are securely attached‚ the TV is ready to be hung on the wall plate. Always refer to the manufacturer’s instructions for specific bracket installation details to ensure compatibility and safety.
Aligning the TV with the Wall Plate
Once the wall plate is installed‚ carefully lift the TV with the attached brackets and align the mounting hooks with the wall plate. Use a spirit level to ensure the TV is straight. Gently lower the TV onto the wall plate‚ ensuring the hooks securely engage. Double-check the alignment by visually inspecting the TV’s position and using the spirit level. If necessary‚ adjust the TV slightly to achieve perfect horizontal and vertical alignment. Once aligned‚ test the stability by gently rocking the TV to ensure it is firmly secured. Tighten the safety screws on the brackets to finalize the installation. Always refer to the manufacturer’s instructions for specific alignment features or adjustments.
Tightening the Screws Safely
After aligning the TV with the wall plate‚ use an appropriate screwdriver to tighten the safety screws on the display brackets. Avoid over-tightening‚ as this could damage the TV or the mount. Ensure the screws are securely fastened to hold the TV firmly in place. Check the weight limit of the wall mount to confirm it supports your TV. Use a spirit level to verify the TV’s position is straight. Once tightened‚ gently rock the TV back and forth to ensure stability. If any movement is detected‚ re-tighten the screws. Always refer to the manufacturer’s instructions for specific torque recommendations and safety guidelines.
Adjusting the TV Position
Once the TV is mounted‚ adjust its position for optimal viewing. Use a spirit level to ensure the TV is straight. Loosen the tilt adjustment bolts to angle the TV up or down as needed. For swivel adjustments‚ gently pull or push the TV to desired left or right positioning. Depth adjustment allows you to bring the TV forward or push it back against the wall. Use the provided tools‚ such as an Allen wrench‚ to make precise adjustments. Ensure all screws are securely tightened post-adjustment for safety. Double-check the TV’s alignment and positioning to confirm it meets your viewing preferences and aesthetic goals‚ ensuring a secure and enjoyable setup.
Finalizing the Installation
After securing the TV and ensuring proper alignment‚ tighten all screws firmly to prevent any movement. Double-check the TV’s levelness and adjust if necessary. Once satisfied with the position‚ conceal any exposed cables using cable management systems for a clean look. Plug in all devices and test the TV’s functionality to ensure everything works correctly. Refer to the manufacturer’s instructions for any specific finalization steps. Ensure all safety screws are tightened to prevent the TV from shifting or falling. Finally‚ step back and verify that the installation is secure‚ level‚ and visually appealing‚ completing the process safely and effectively.
Post-Installation Steps
Confirm TV alignment‚ hide cables‚ test functionality‚ and ensure all connections are secure. Verify safety measures and adjust as needed for a polished‚ safe‚ and functional setup.
Checking the TV Alignment
After mounting‚ ensure your TV is perfectly level and aligned. Use a spirit level to verify horizontal and vertical alignment. Adjust the TV brackets by loosening the adjustment screws slightly‚ then tilt or shift the TV as needed. Once aligned‚ tighten the screws firmly. Double-check the alignment to ensure accuracy. For optimal viewing‚ the TV should be straight and evenly positioned on the wall. If necessary‚ have someone assist to hold the TV while adjusting. Proper alignment ensures a professional finish and prevents uneven wear on the mount. Make sure the TV is stable and secure before finalizing the setup.
Concealing Cables and Wires
After installing your TV‚ concealing cables and wires ensures a clean and professional look. Use cable management systems like cable ties‚ clips‚ or raceways to organize wires behind the TV or along the wall. For a sleek appearance‚ route cables through the wall using in-wall cable management kits. Adhesive-backed cable clips can secure wires to the wall without damaging paint or wallpaper. Ensure all cables are neatly bundled and secured to prevent tangling or visibility. Properly concealing cables enhances safety by reducing tripping hazards and improves the overall aesthetic of your setup. This step is crucial for achieving a polished‚ modern installation.
Testing the TV Functionality
After completing the installation‚ turn on your TV to ensure proper functionality. Check the picture quality‚ sound output‚ and connectivity of all devices. Verify that all ports are accessible and cables are securely connected. Test smart TV features‚ such as app functionality and Wi-Fi connectivity‚ if applicable. Adjust picture settings for optimal viewing experience. Ensure the TV is properly calibrated and that all features work as expected. If any issues arise‚ refer to the TV’s user manual or manufacturer support. This step ensures your TV is fully operational and ready for use‚ completing the installation process successfully.
Additional Considerations
Ensure your TV mount supports the weight and VESA pattern of your TV. Use a spirit level for proper alignment. Follow manufacturer instructions precisely. Verify wall type compatibility for a safe and secure installation.
Weight Restrictions and Safety
Always check the weight capacity of your TV mount to ensure it can support your TV’s weight. Exceeding the limit can lead to structural damage or safety hazards. Most mounts have a maximum weight restriction‚ typically around 130 lbs (58.9 kg)‚ depending on the model. Ensure the wall structure is sturdy and can handle the combined weight of the TV and mount. Avoid installing on drywall alone without proper reinforcement. Use a spirit level to ensure even mounting and prevent uneven stress. Verify VESA compatibility to avoid installation issues. If unsure‚ consult the manufacturer’s manual or seek professional assistance for a secure setup.
Using a Spirit Level
A spirit level is essential for ensuring your TV mount is perfectly aligned. Place the level on the wall plate or TV bracket to check for evenness. Adjust the mount until the bubble aligns in the center‚ indicating a straight position. This prevents uneven stress on the mount and ensures a professional finish. Use the level both horizontally and vertically for accuracy. Double-check the alignment after tightening screws to maintain balance. An improperly aligned mount can lead to a tilted TV‚ affecting viewing quality. For optimal results‚ use a high-quality level and ensure it’s calibrated before use. Proper leveling ensures stability and longevity of your TV setup.
Following Manufacturer Instructions
Adhering to the manufacturer’s instructions is crucial for a safe and correct TV wall mount installation. Each mount comes with specific guidelines tailored to its design‚ ensuring compatibility with your TV and wall type. Failure to follow these instructions can lead to improper installation‚ safety risks‚ or damage to your TV. Pay close attention to recommended screw diameters (M6 or M8)‚ weight limits‚ and mounting patterns. Always verify VESA compatibility and wall type suitability. Read the manual thoroughly before starting and consult a professional if unsure. Properly following the instructions ensures a secure and level installation‚ maximizing your viewing experience and protecting your investment.
Checking Wall Type Compatibility
Ensure your wall can support the TV mount by verifying its type. The mount is designed for wood studs‚ solid concrete‚ or concrete block walls. Avoid installing on drywall alone‚ as it may not hold the weight. Use a stud finder to locate wood studs for added stability. For concrete or brick walls‚ anchor bolts are typically required. Check the manufacturer’s specifications to confirm compatibility. If unsure‚ consult a professional to assess your wall structure. Proper wall type identification ensures a secure installation‚ preventing potential damage or safety hazards. Always follow the manufacturer’s guidelines for your specific wall type to guarantee a safe and sturdy mount.
Troubleshooting Common Issues
If the TV mount feels unstable‚ check for loose screws and tighten them. Ensure the wall plate is level and properly aligned with the TV brackets. If the TV leans‚ adjust the brackets or consult the VESA pattern. For wobbling‚ verify that all screws are securely fastened; If the mount doesn’t fit‚ confirm the VESA compatibility with your TV. Electrical issues‚ like faulty cables‚ may require checking connections. Refer to the manufacturer’s troubleshooting guide for specific solutions. Addressing these problems ensures your TV remains secure and functions optimally. Always follow the provided instructions to resolve issues effectively and safely. Regular checks can prevent future complications.
Frequently Asked Questions
Find answers to common queries about TV wall mount installation‚ including weight limits‚ required tools‚ VESA patterns‚ and DIY feasibility‚ ensuring a smooth setup process for your TV.
What is the Maximum Weight My Wall Mount Can Hold?
The maximum weight your wall mount can hold is specified in the product manual or packaging. Most mounts support between 40-80 pounds‚ but high-end models can handle up to 130 pounds. Ensure your TV’s weight does not exceed this limit to avoid damage or safety hazards. Always verify the weight capacity before installation and consider factors like VESA compatibility and wall type. If unsure‚ consult the manufacturer or a professional installer to ensure a secure setup. Exceeding the weight limit can lead to structural issues or accidents‚ so double-checking is crucial for a safe and stable installation.
Do I Need Special Tools for Installation?
While basic tools like a screwdriver‚ drill‚ and level are typically sufficient for most installations‚ some mounts may require specific hardware or tools. Always refer to the manufacturer’s instructions for a detailed list of required tools. In many cases‚ the necessary hardware‚ such as screws or spacers‚ is included with the mount. Advanced installations‚ like those involving concrete walls‚ may need specialized drills or anchors. If unsure about the tools or the process‚ consider consulting a professional installer. Proper tools ensure a secure and stable installation‚ so double-check the manual before starting the project to avoid complications.
How Do I Know My TV’s VESA Pattern?
To determine your TV’s VESA pattern‚ measure the distance between the screw holes on the back of the TV. The VESA pattern is indicated by two numbers (e.g.‚ 400×400) representing the horizontal and vertical distances in millimeters. Check your TV’s manual or manufacturer’s website for this information. Some TVs display the VESA pattern on a label near the mounting holes. Using a wall mount template or compatibility guide can also help identify the correct pattern. Ensure the mount matches your TV’s VESA pattern for proper fitting. Common sizes include 200×200‚ 300×300‚ and 400x400mm. Accurate measurement is crucial for a secure installation.
Can I Install the Wall Mount by Myself?
Installing a TV wall mount by yourself is possible if you have basic tools and follow the instructions carefully. Ensure the TV’s weight does not exceed the mount’s capacity and verify the wall type’s compatibility. Use a spirit level to align the mount correctly. If the TV is large or heavy‚ consider enlisting a second person for safety. Always consult the manufacturer’s manual for specific guidance. Proper preparation and patience are key to a successful installation. If unsure‚ hiring a professional is recommended to avoid damage or injury. With the right tools and knowledge‚ a DIY installation can be straightforward and effective.
When Should I Hire a Professional?
Hire a professional if you’re unsure about your ability to safely and correctly install the TV wall mount. This is especially true for heavy TVs‚ complex setups‚ or non-standard wall types like brick or concrete. Professionals have the tools and expertise to handle tricky installations and ensure the mount is secure. If you lack confidence in your DIY skills or don’t want to risk damaging your TV or wall‚ hiring a professional is the best option. They can also provide a warranty for their work‚ giving you peace of mind. Save time and stress by leaving the job to an expert.
Safety Precautions
Always follow safety guidelines to avoid accidents. Ensure the TV mount is securely attached to wall studs or solid structures. Use a spirit level to ensure proper alignment. Avoid overloading the mount‚ and never exceed the weight limit specified in the manual. Wear protective gear and keep children away during installation. If unsure‚ consult a professional to prevent potential hazards. Regularly inspect the mount for stability and tighten any loose screws. Proper installation ensures both safety and optimal viewing experience.
General Safety Tips
Ensure a safe installation by following essential safety guidelines. Always check the weight limit of your TV wall mount to avoid overloading. Use a spirit level to ensure proper alignment and balance. Avoid installing the mount on drywall alone; instead‚ secure it to wall studs‚ solid concrete‚ or concrete blocks. Wear protective gloves and eyewear during drilling and handling hardware. Keep children and pets away from the installation area to prevent accidents. If unsure about any step‚ consult a professional installer. Regularly inspect the mount for stability and tighten any loose screws. Proper installation ensures both safety and optimal viewing experience.
Ensuring the Mount is Secure
To ensure the mount is secure‚ always follow the manufacturer’s instructions and verify the weight limit of the mount. Use the correct screw diameter (M6 or M8) for your TV’s mounting holes. Tighten all screws gradually to avoid uneven stress on the mount. Double-check that the wall plate is firmly attached to the wall studs or solid concrete. Use a spirit level to confirm the mount is perfectly aligned. After hanging the TV‚ gently tug on it to ensure stability. Regularly inspect the mount for any signs of wear or loosening screws. A secure mount prevents accidents and ensures your TV remains safely in place.
Avoiding Overloading the Mount
To prevent overloading the mount‚ always adhere to the weight limit specified in the manufacturer’s instructions. Verify the maximum weight your TV wall mount can support and ensure your TV does not exceed this limit. Use the correct screw diameter (M6 or M8) for your TV’s mounting holes to avoid excessive strain. Avoid adding extra weight‚ such as heavy soundbars‚ without checking compatibility. Properly tighten screws without over-tightening‚ as this can damage the mount or wall. Regularly inspect the mount for signs of stress or wear. Overloading can lead to instability‚ potentially causing the TV to tilt or fall‚ resulting in damage or injury. Always prioritize safety and follow guidelines to ensure a secure installation.
Knowing When to Seek Help
If you encounter difficulties during installation or are uncertain about any step‚ consider consulting a professional. This is especially important if your TV exceeds the mount’s weight limit or if you’re unsure about wall type compatibility. Seek help if you notice instability or if the mount does not align properly with the wall studs. Additionally‚ if you lack the necessary tools or confidence in your abilities‚ professional assistance can ensure a safe and secure installation. Never risk your TV’s safety or your own by attempting a complex setup without proper guidance; Always err on the side of caution to avoid potential damage or injury.
With these detailed instructions‚ you should now be confident in mounting your TV securely and safely. Proper preparation‚ alignment‚ and installation techniques ensure a stable setup. Always prioritize safety by following weight limits and using appropriate tools. If unsure‚ consult a professional to avoid risks. Mounting your TV correctly enhances your viewing experience and protects your investment. By adhering to the guide‚ you can enjoy a perfectly installed TV‚ optimizing both functionality and aesthetics in your home.